Wrapped Up and Spring Ready!
DIY LONG COAT
I cannot tell you how many times I have watched this reel on Instagram. I loved it so much I decided to make my version of it. I must honestly say that it proved a lot more challenging than I expected; and what a learning curve it was. The coat is originally from Asos and of course it was sold out. So I decided to use one of the coat patterns I have to recreate it. You can check out the video on how I went about it.

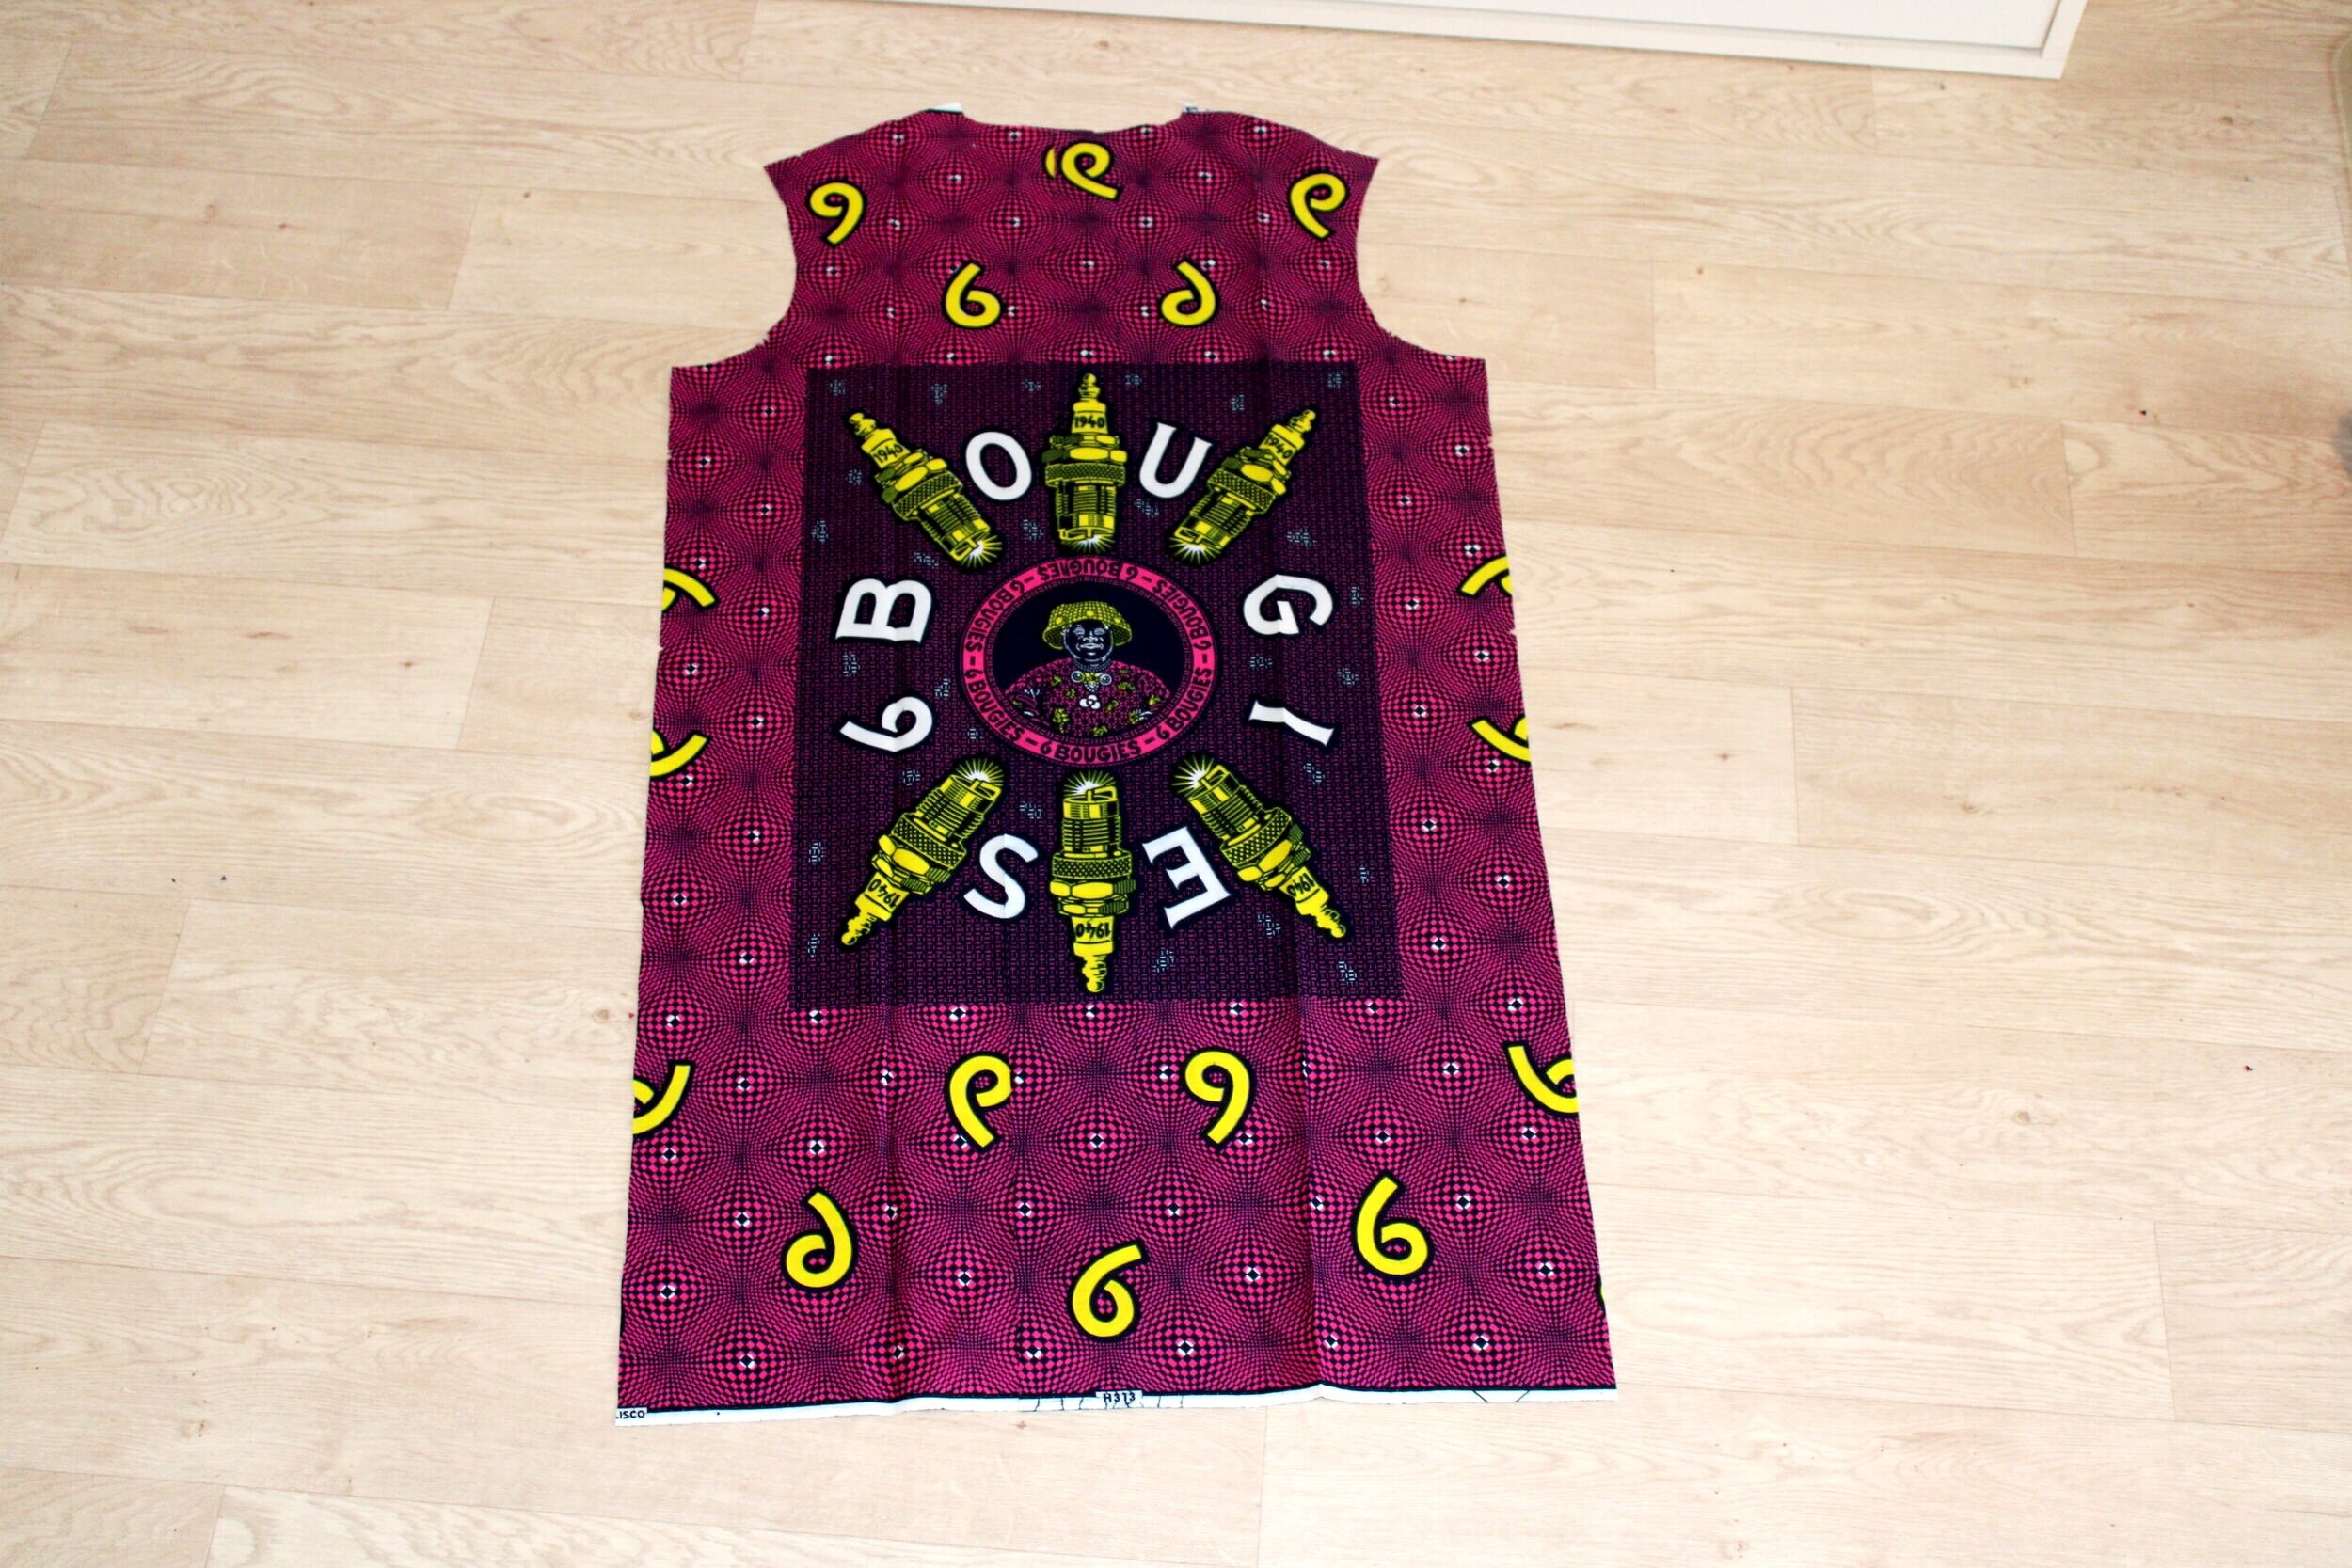
To make, I used Vogue pattern V9367. This is supposed to be very easy so I figured it would serve as a convenient base to tweak and add on as needed. For the most part, I followed the instructions on the pattern. I found them straightforward enough. I did however choose to line the jacket. Ususally, this will involve cutting your pattern twice. I did this for the arms. For the back and front lining however, I used the process below. Taking the front of the jacket (outside of jacket) and the lapel(exposed inside of Jacket), I traced the difference between the lapel and the front of the jacket and added seam allowance. Here is how:
lay out your (tracing) paper
lay transfer paper over it.
place front pattern of jacket on tracing paper and pin or hold in place
Place lapel pattern (exposed inside of jacket) on front pattern and pin, making sure to match markings and notches on pattern.
The uncovered part of the front pattern of the jacket is what we need for the lining. This will be our unexposed part of the inside of the jacket. This will be attached to the lapel (exposed inside of jacket).
Go ahead and trace this out unto your paper, add your seam allowance and cut.
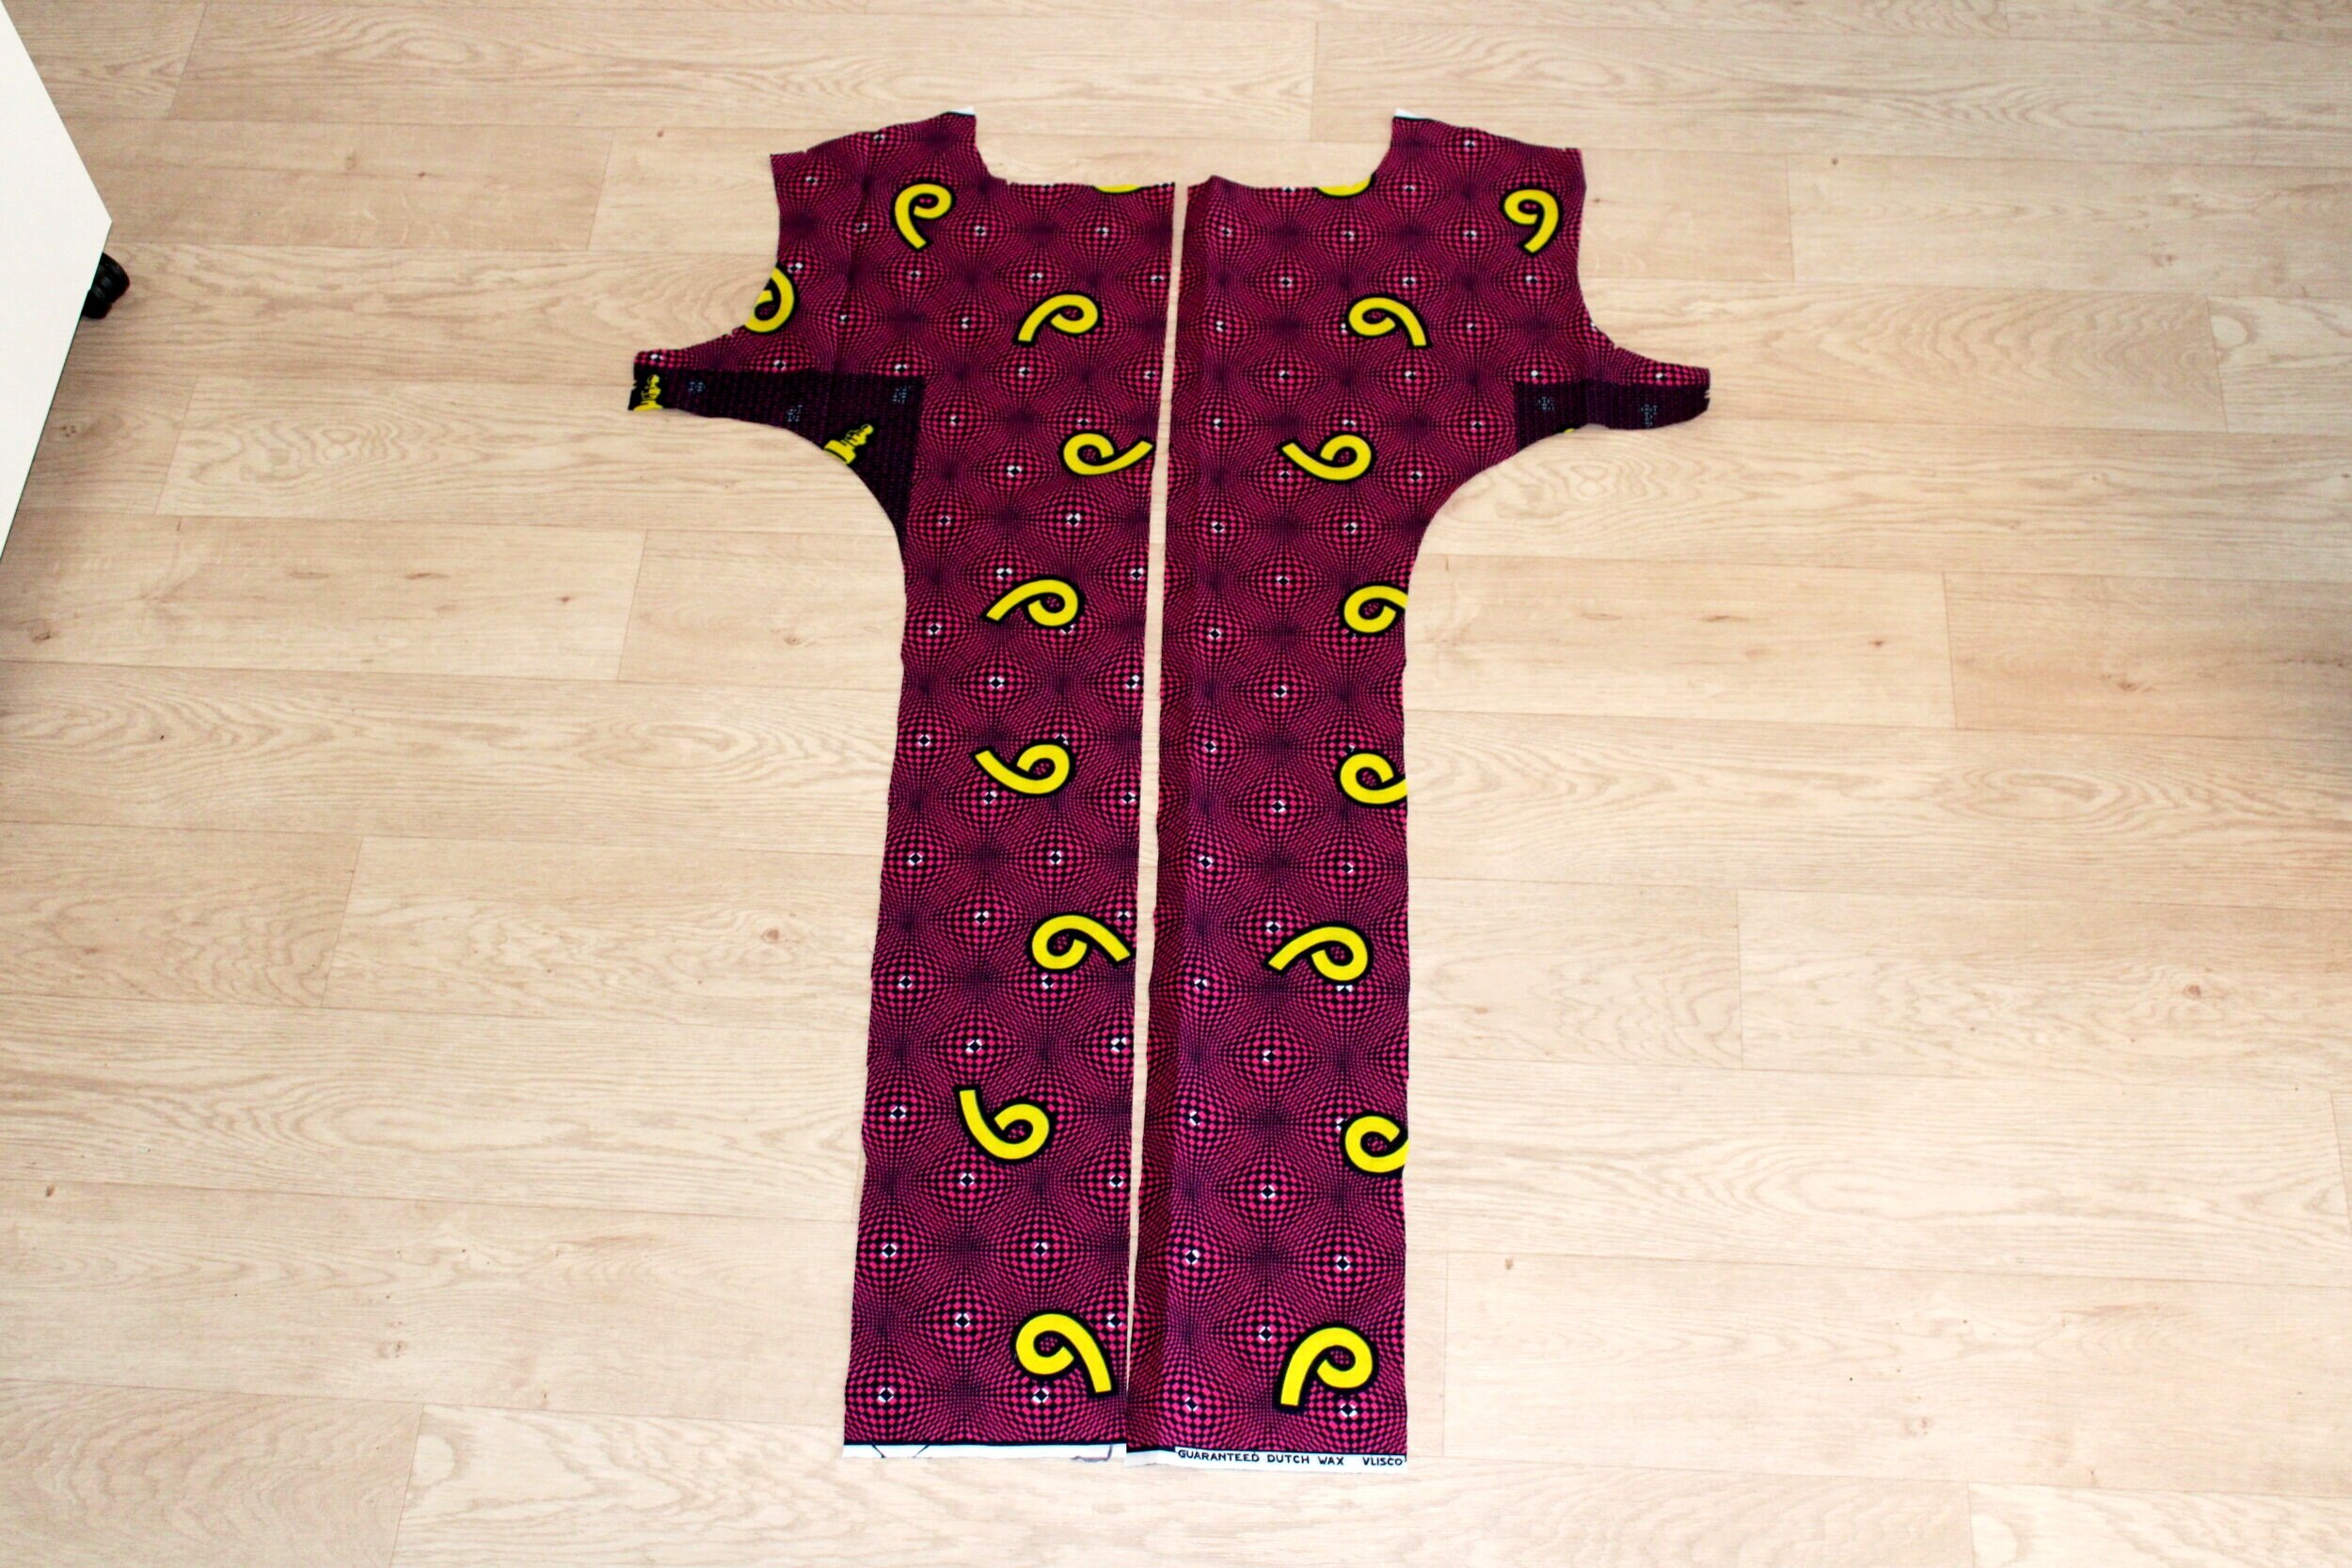
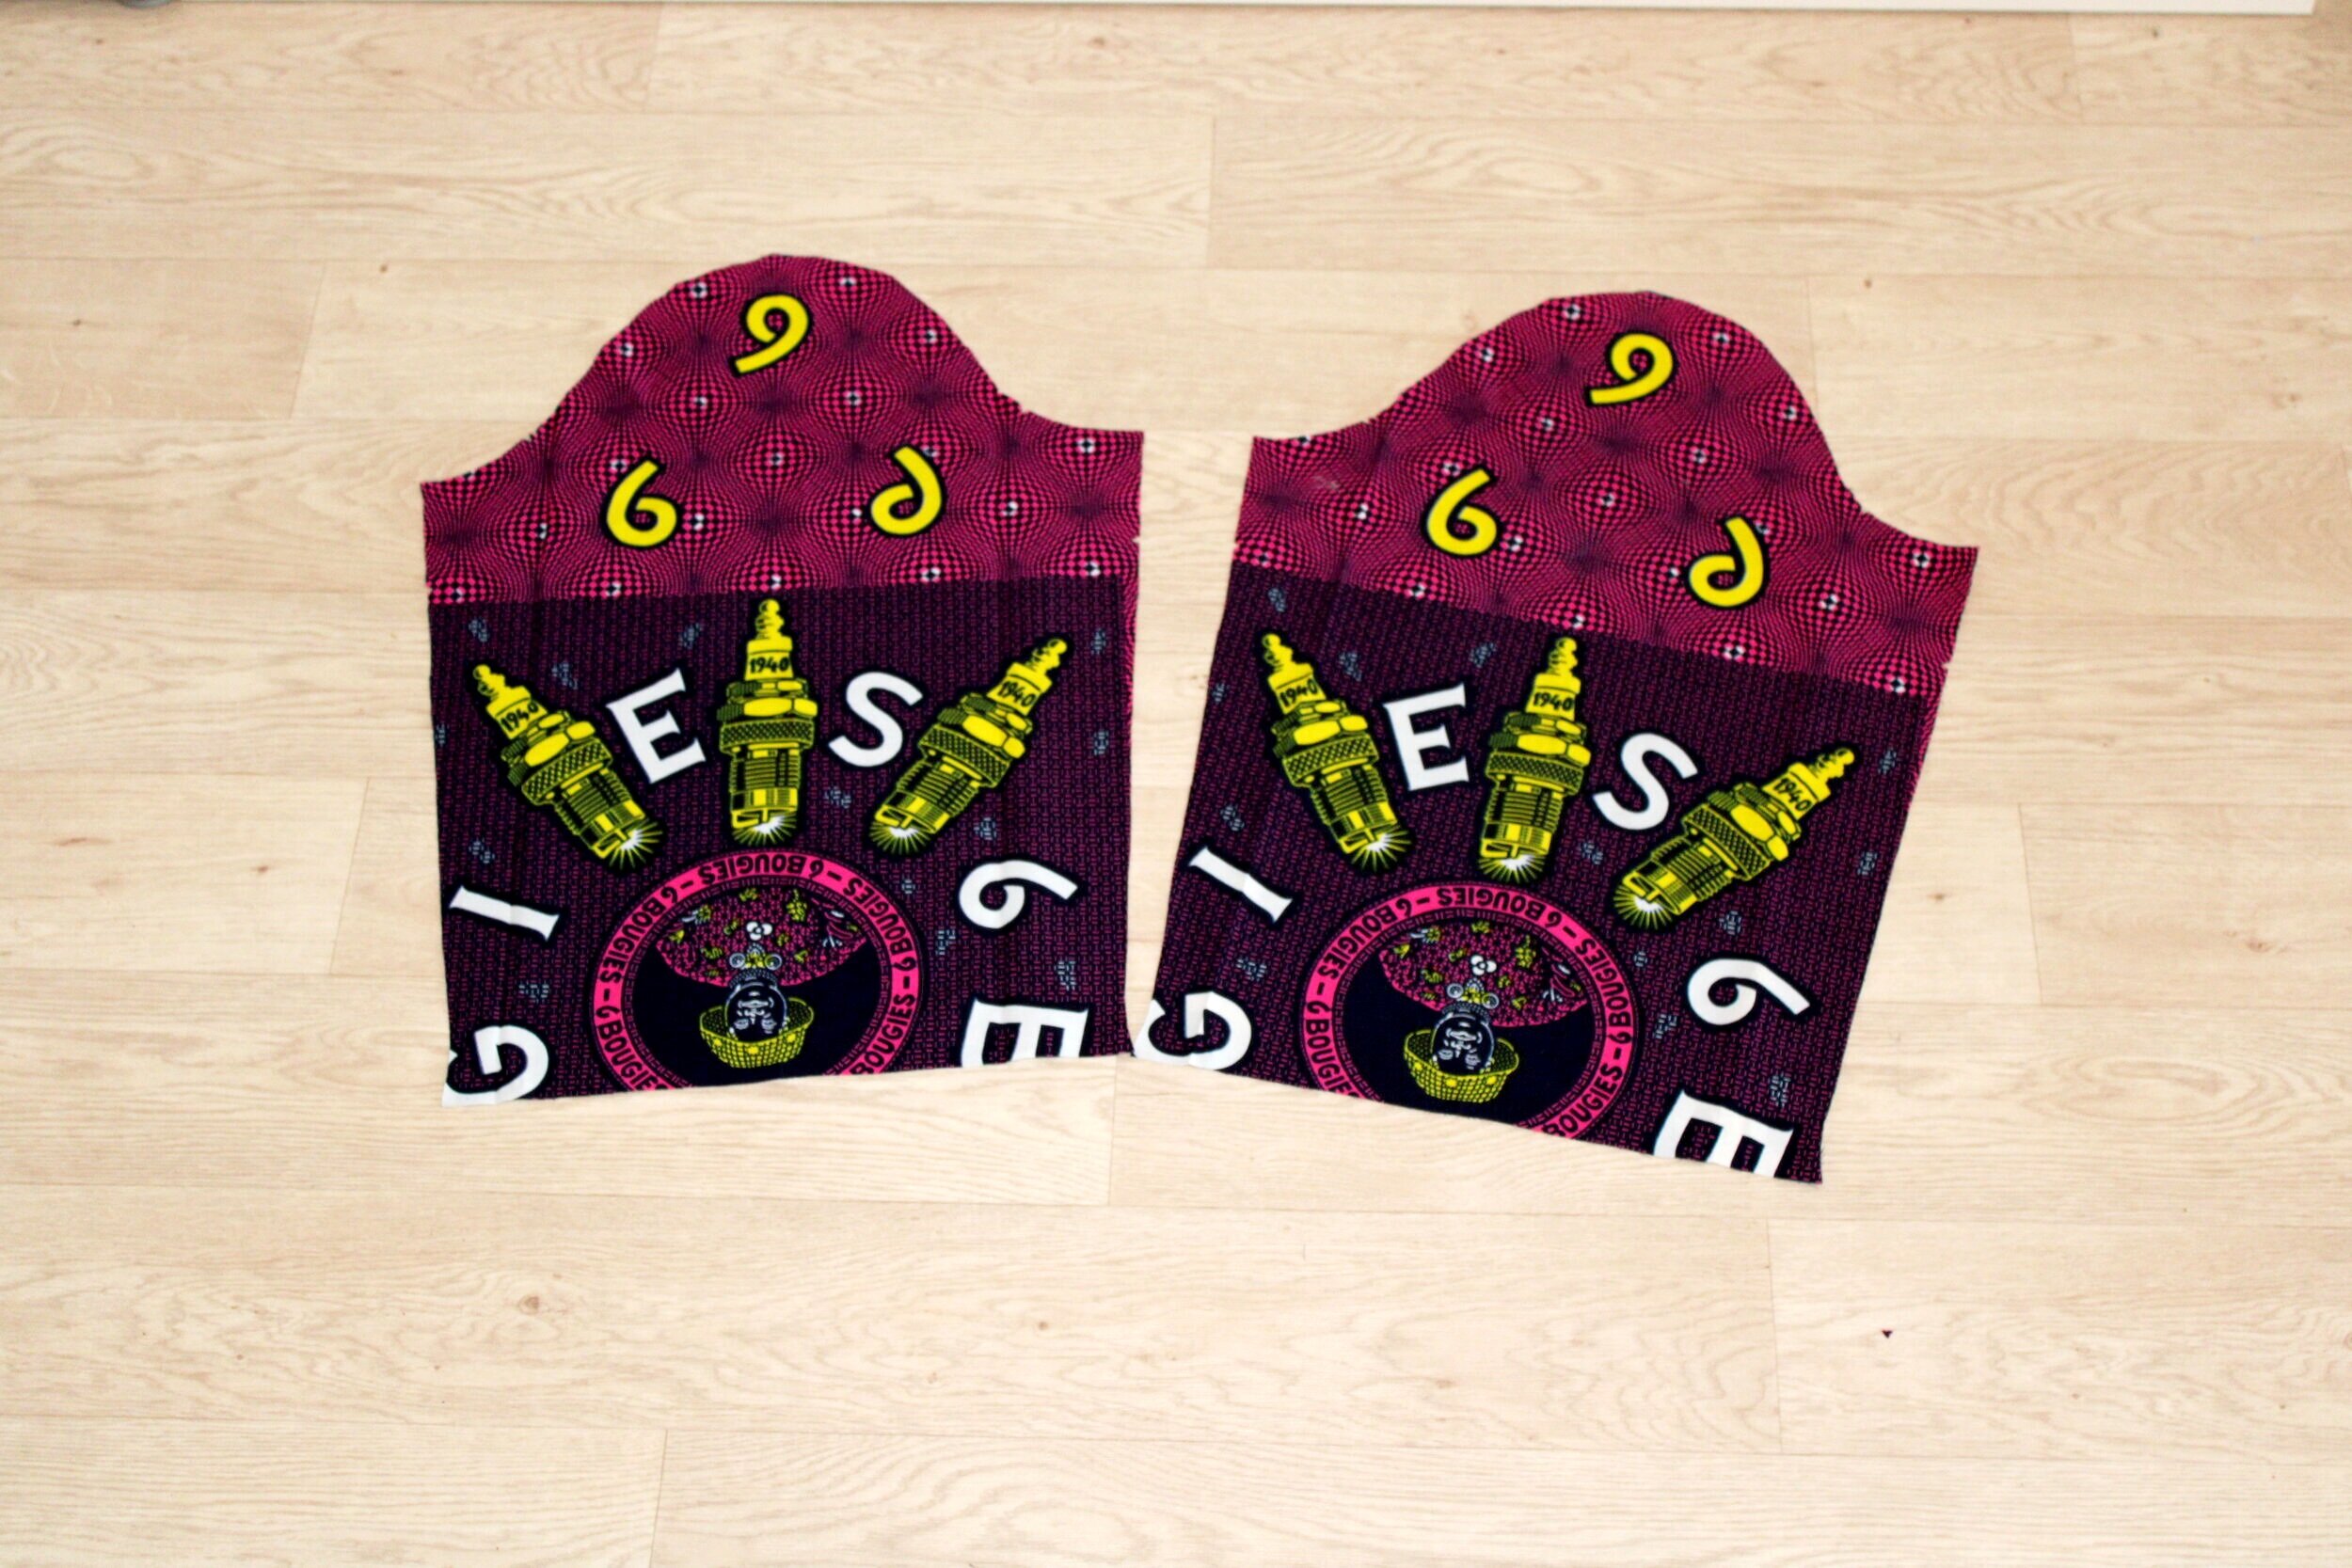
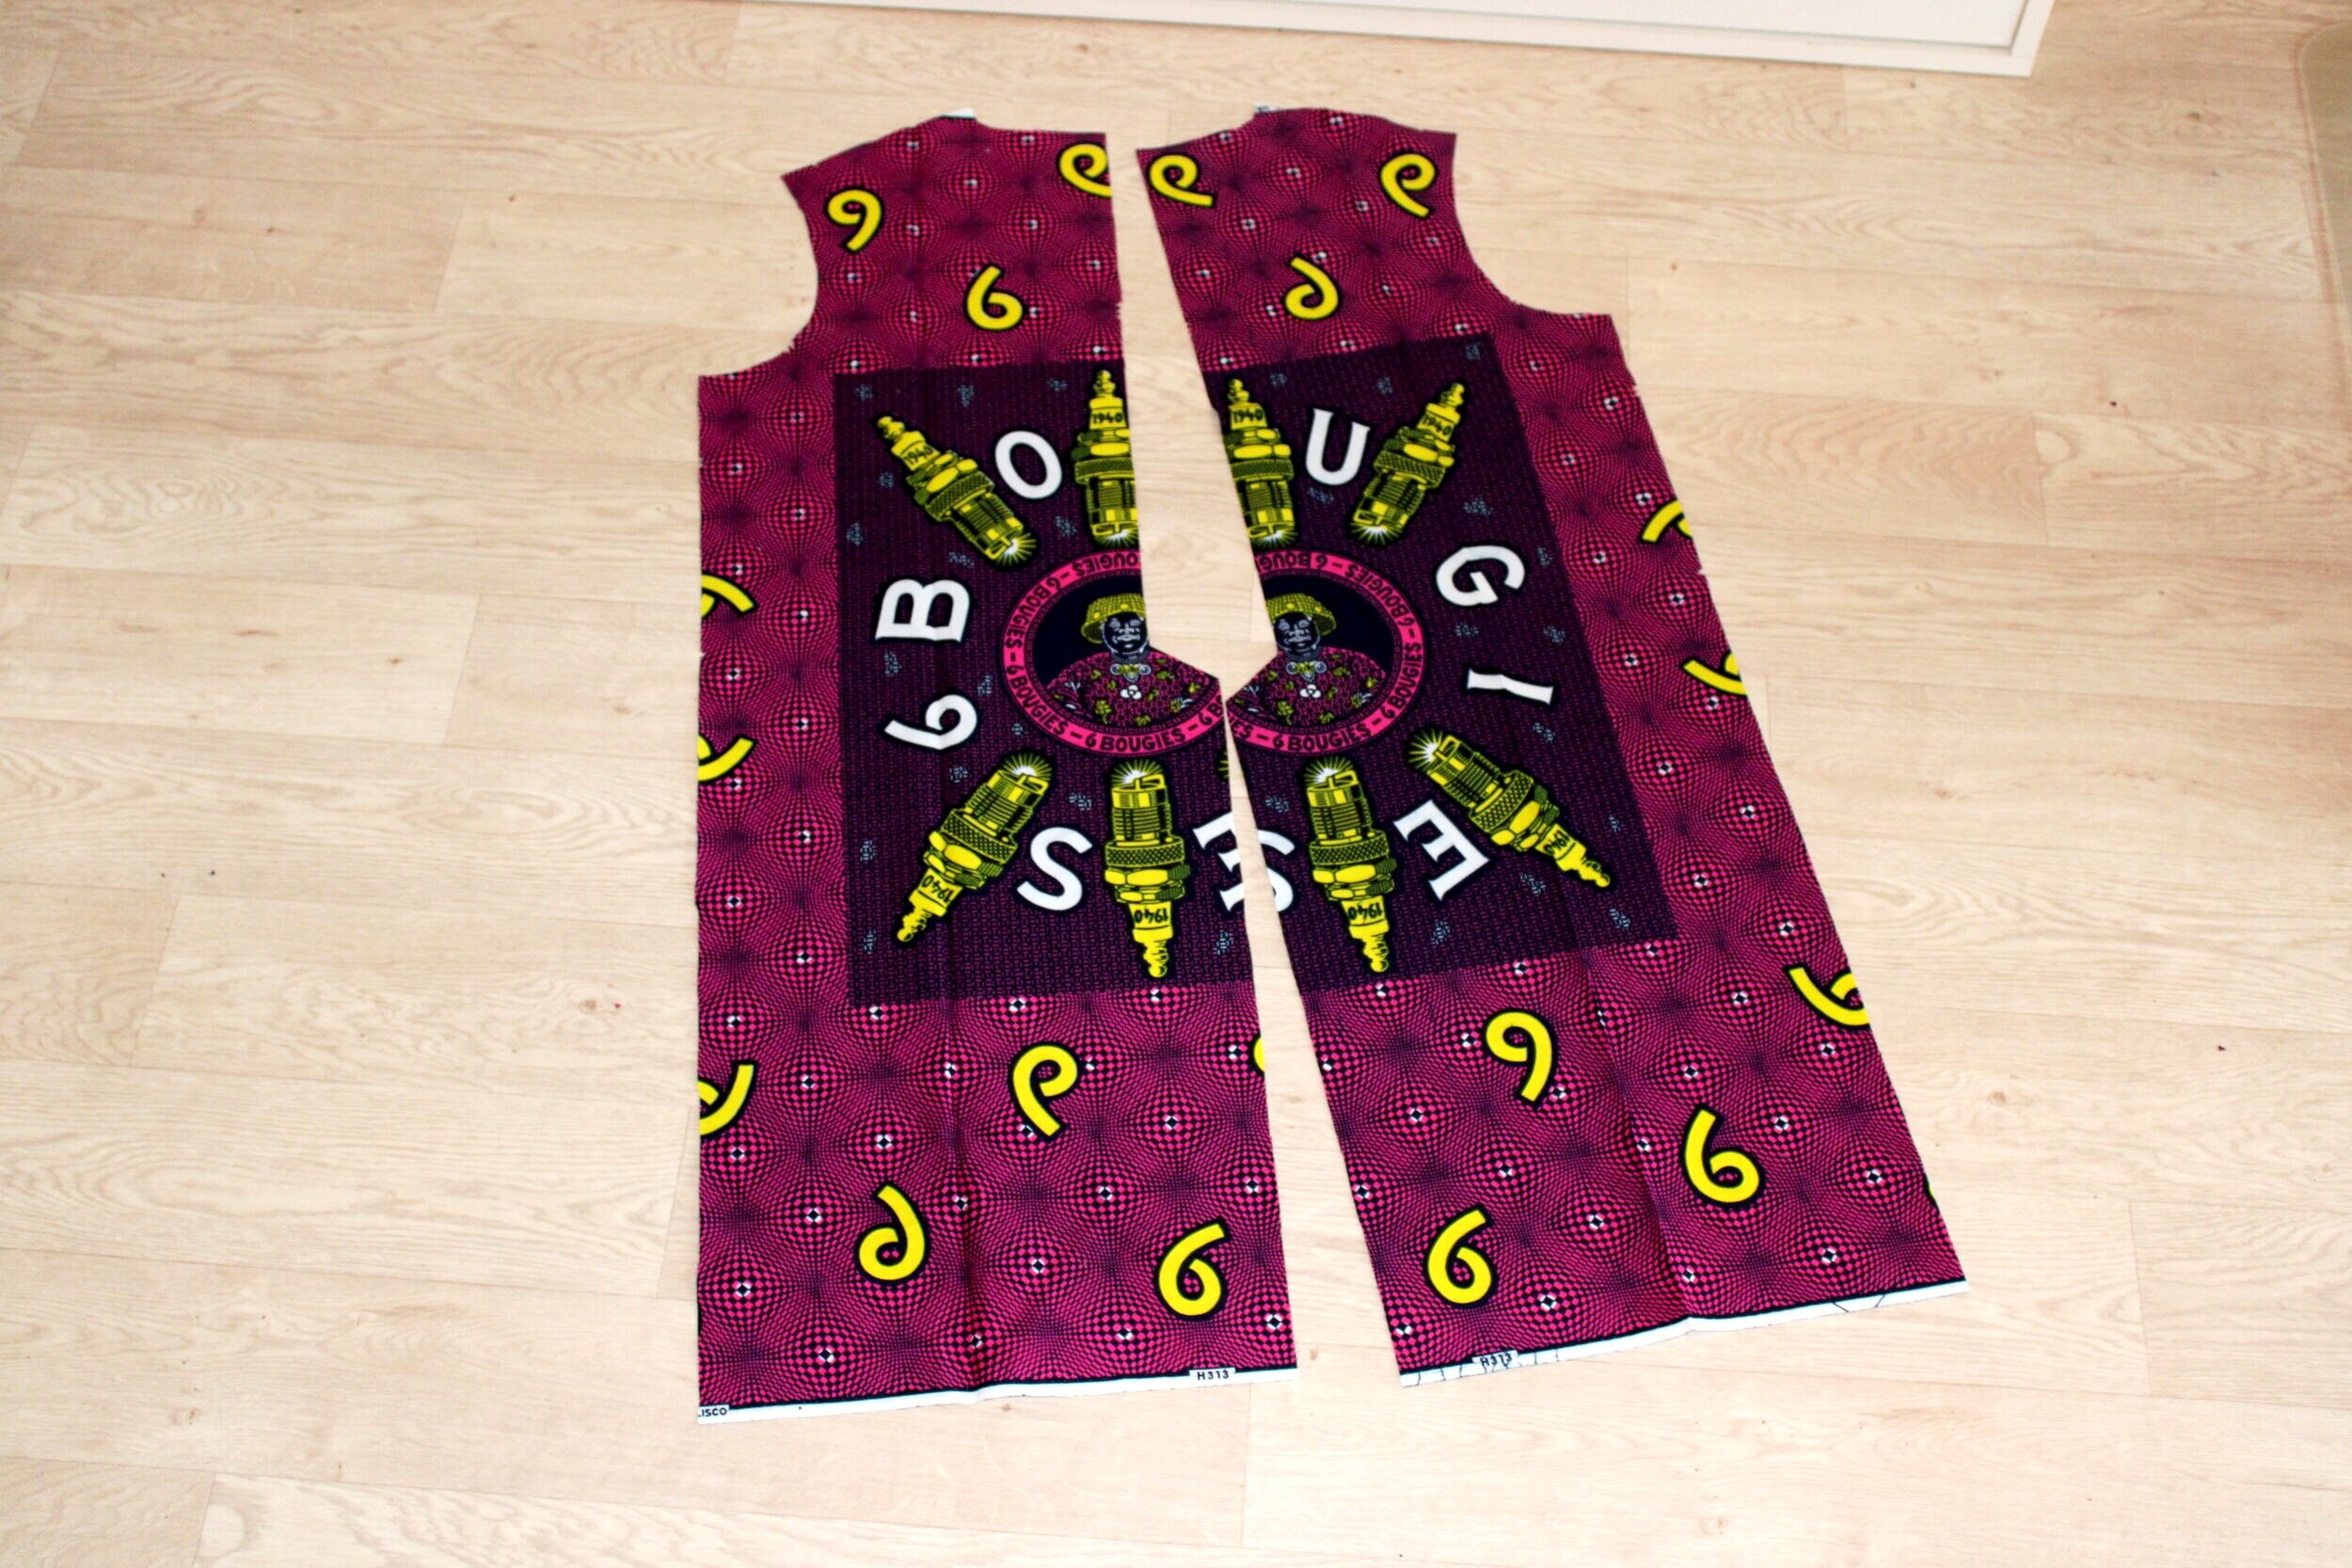
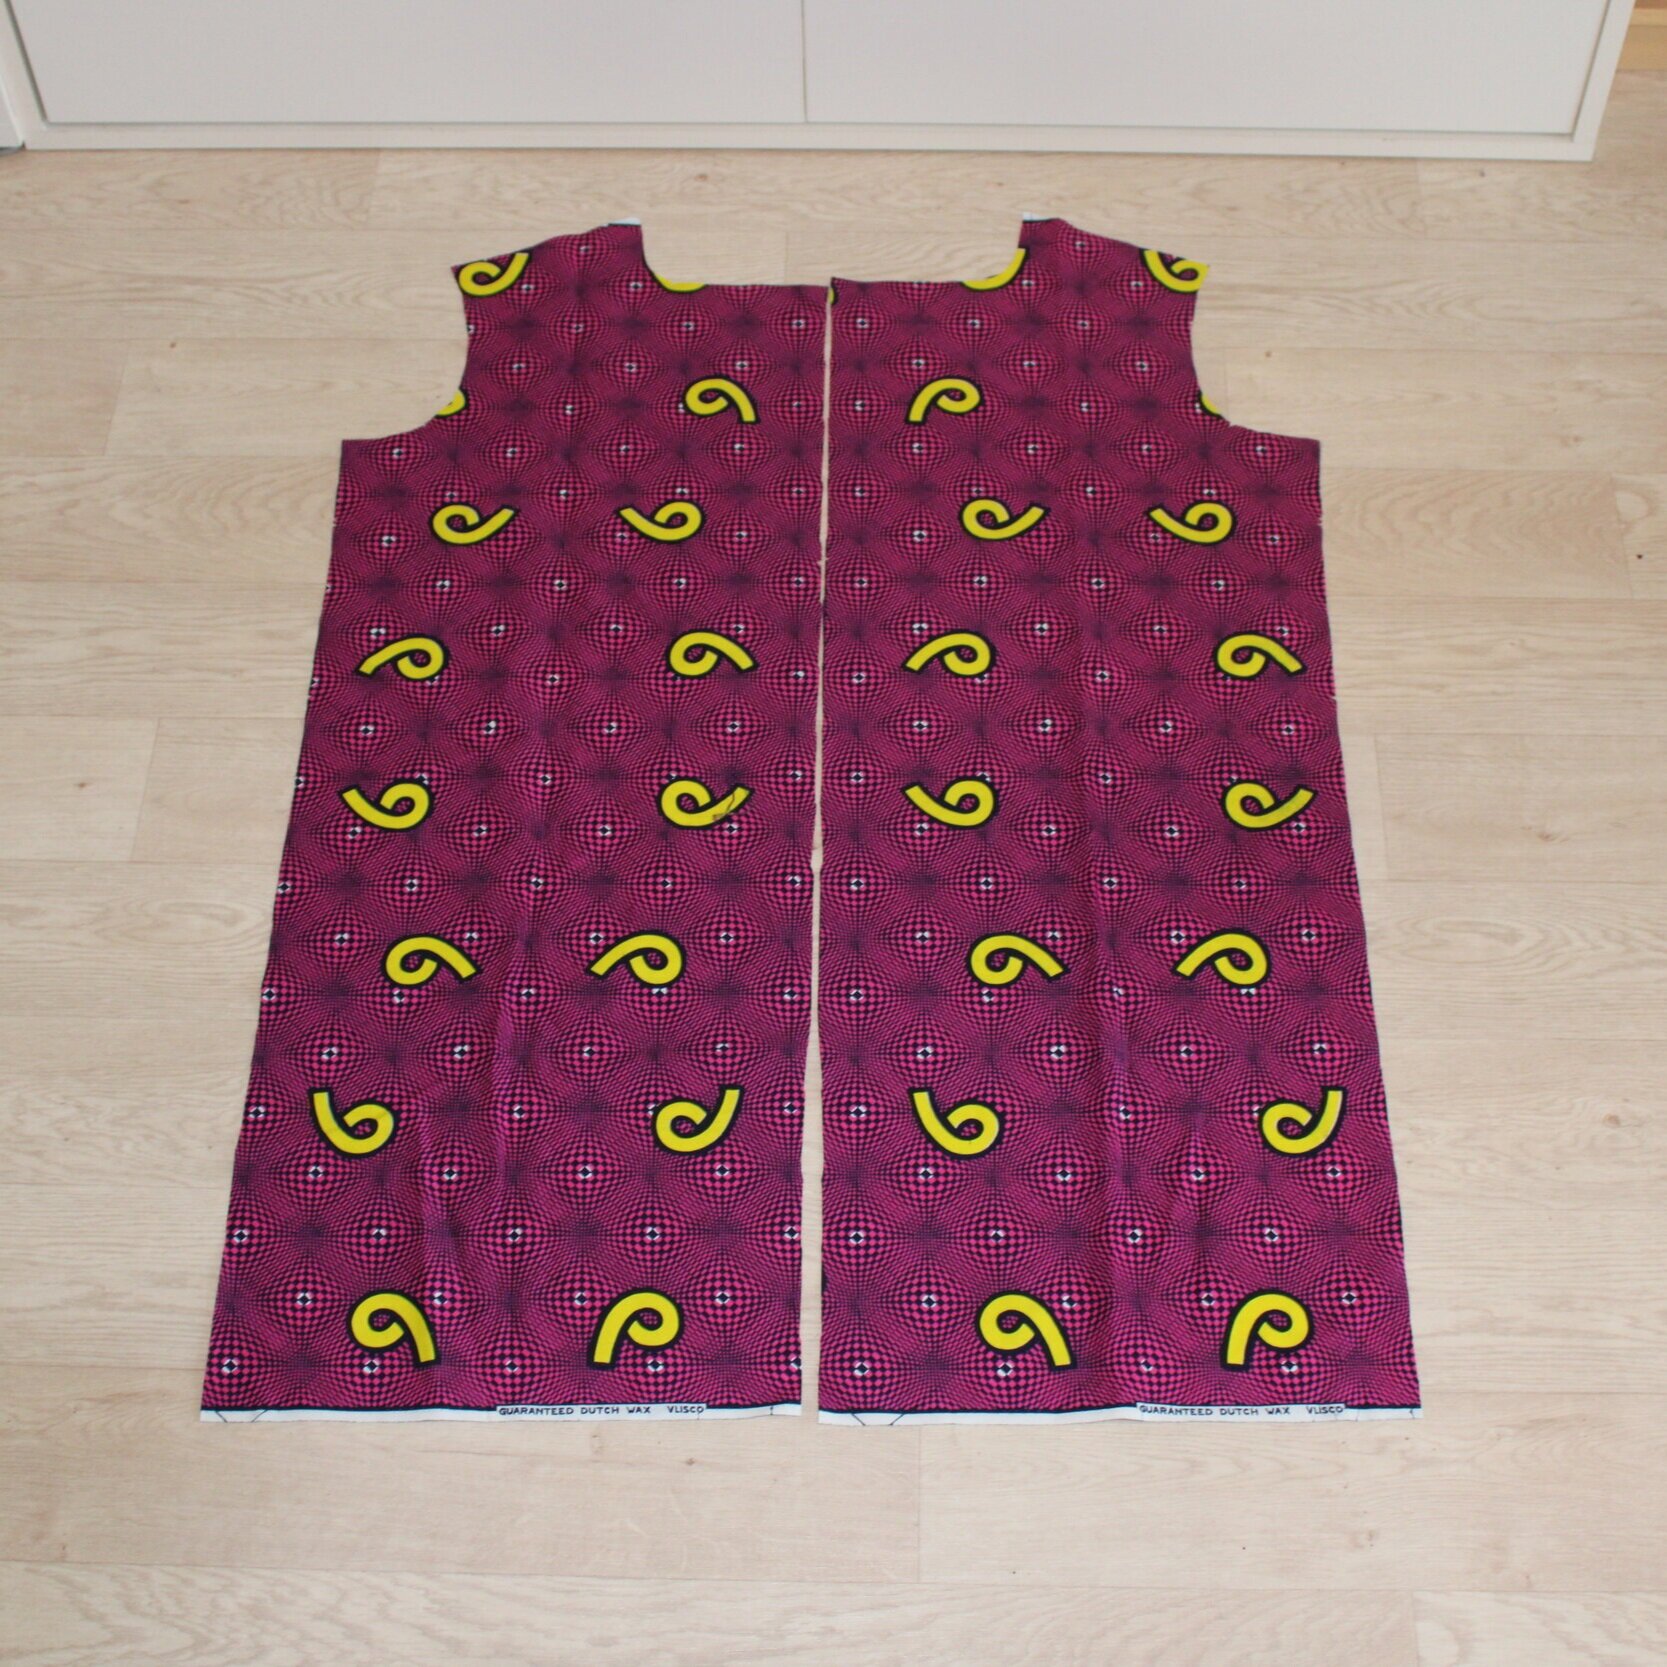
Using the same process, I cut out the back lining as well. Once I had my lining, I proceeded to follow the instructions on the pattern for the construction.
For my tweaks.
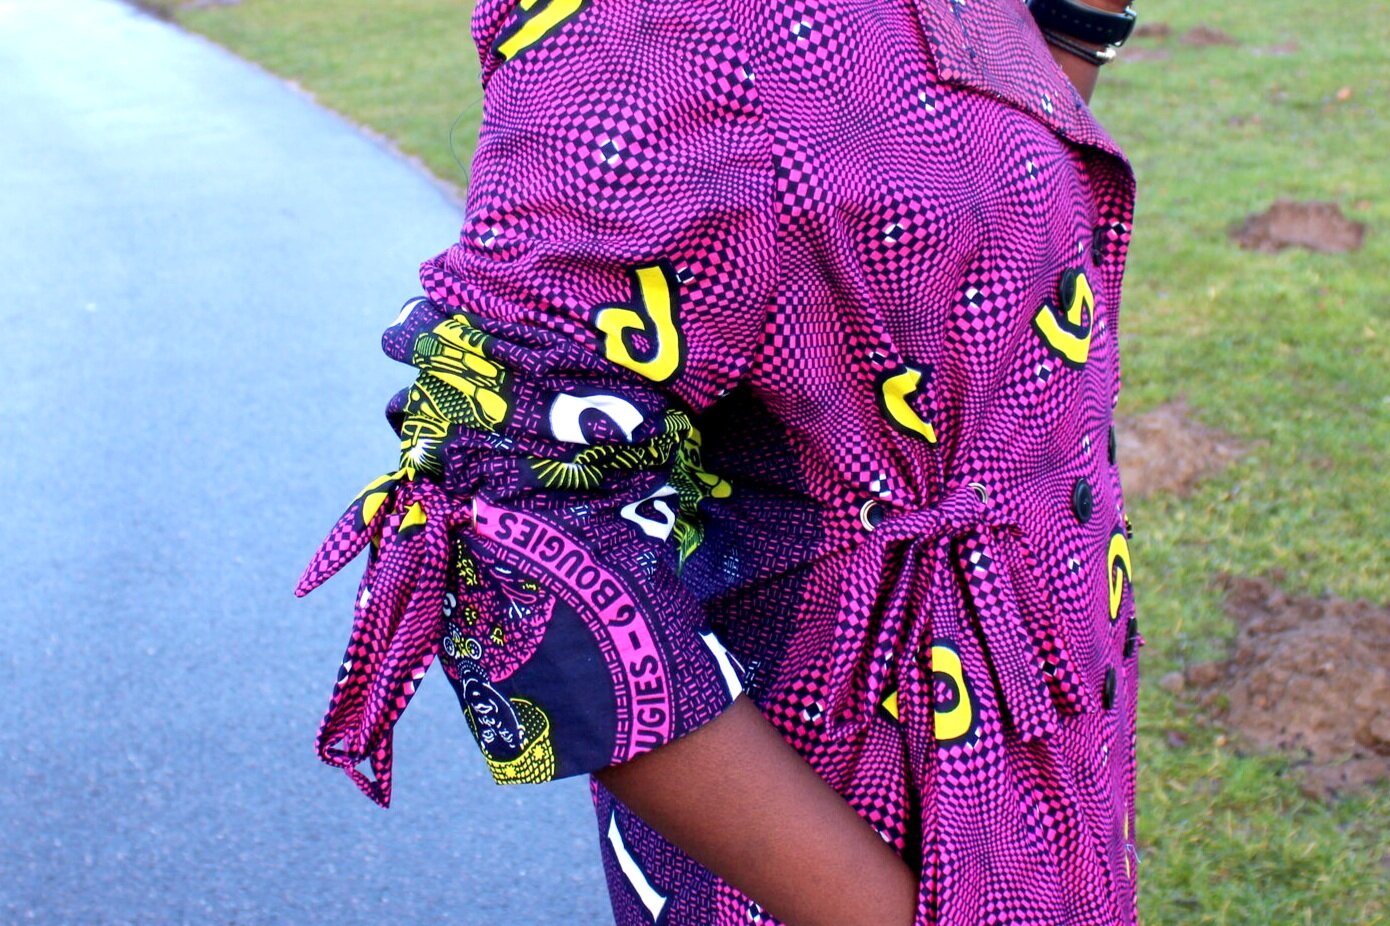
My initial plan was to make the very same jacket. That being said, the fabric I used had a particular design that I wanted to take advantage of so while the jacket I was inspired by had a string running through the back, to be gathered and tied at the front to cinch in the waist, opted not to have that. This would have needed two grommets. Instead, I chose to cinch it in only at the sides. Honestly, my first few tries were epic fails however, after hours of mental gymnastics, I opted to use 4 grommets and create a lace like effect instead. Tears were shed in the making of this jacket. But the result is chefs kiss. I’m very pleased.